Live Photo is an iPhone camera feature that automatically saves 1.5 seconds of video before and after the shot. It creates a dynamic frame that comes to life when pressed. That's interesting – but not always practical.
Especially if you want to:
- edit photos in third-party apps (like MULI)
- publish sharp content on Instagram
- save frames at maximum quality
We'll explain why it's better to shoot in standard mode, and when Live Photo is actually useful.
What is Live Photo?
Live Photo is a combined file: a photo + a short video clip (1.5 seconds before and after the shot). It takes up more storage and has different technical content than a standard photo.
Why You Shouldn't Use Live Photo
1. Lower sharpness and detail
📉 Because the camera tries to capture video and photo simultaneously:
- the image may be slightly blurry
- colors are less vibrant
- overall sharpness is worse than a standard shot
This is especially noticeable when editing – the photo doesn't hold detail well.
2. Image compression
🗜 To prevent the file from being too large, iPhone automatically compresses the quality of Live Photo.
The result:
- less sharpness after export
- more "noise" in highlights and shadows
- lower quality when posting to Instagram
How to shoot in standard mode
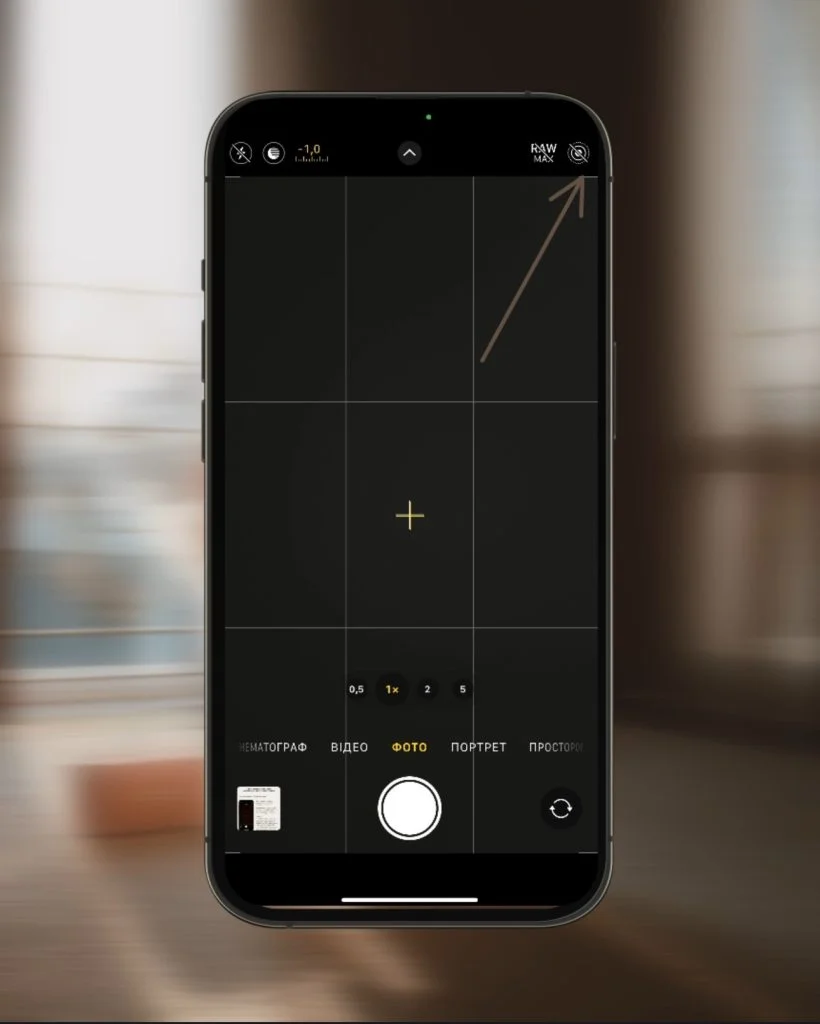
To turn off Live Photo:
- Open Camera
- Tap the three-circle icon at the top (Live)
- Select "Off" (crossed out)
Your shot will be static, maximally sharp and ready for editing and publishing.
When can Live Photo actually be useful?
Live Photo isn't "bad" – it's just not suited for every task. Here are cases where it truly makes sense:
✅ When to use Live Photo:
- For memories or family photos – when you want to capture not just the frame, but the moment.
- When you need to pick a frame – you can choose the "key" frame from a series
- For live wallpapers on iPhone
- For animated photos in iOS / iMessage
- Long Exposure – you can create a long exposure effect by swiping the photo and selecting Long Exposure mode.
But even in these cases, if quality or editing is important – it's better to shoot separately as video or standard photo.
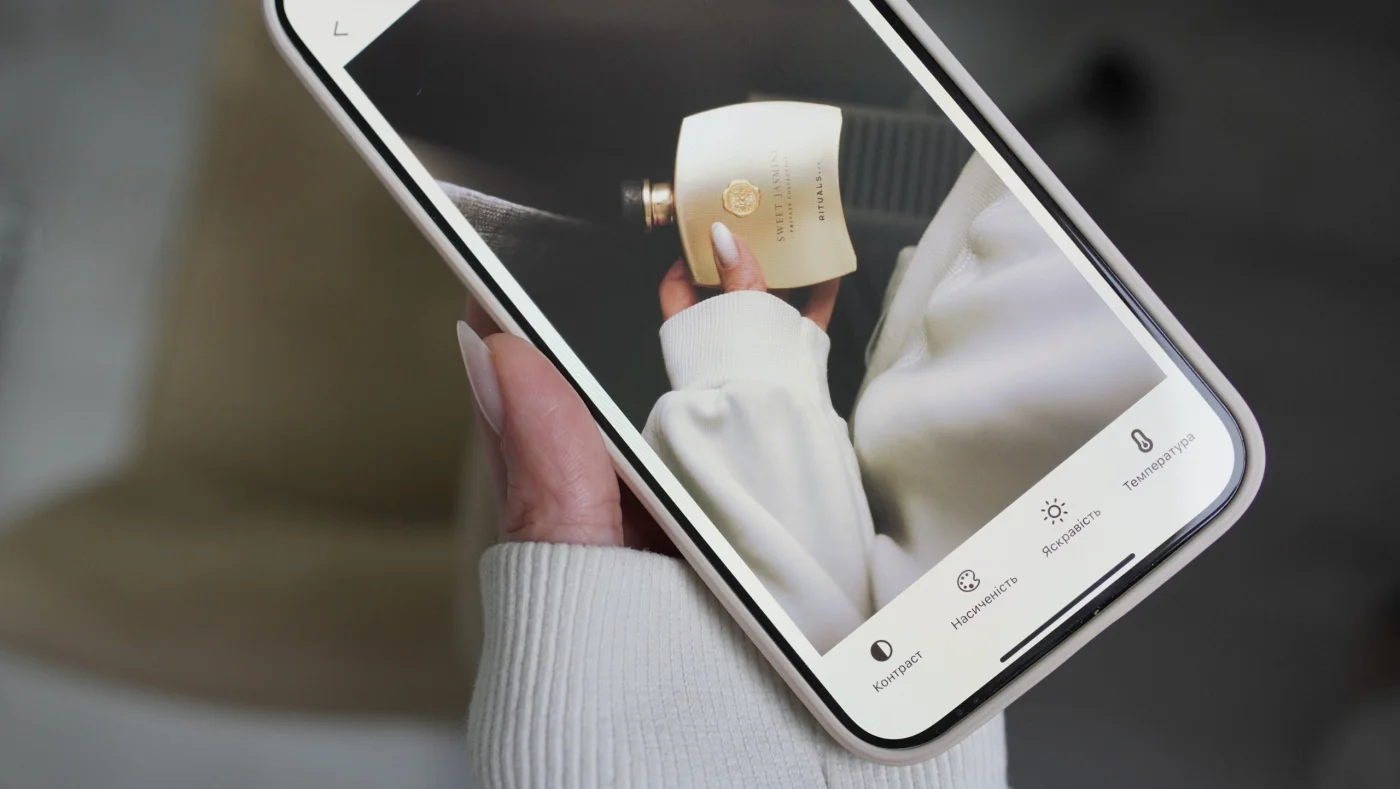
MULI + standard photos = maximum quality
Shoot in standard mode – and edit in MULI:
- Stylish filters, text shadow, blur
- No quality loss – save in 4K
- Everything you need for an aesthetic shot
👉 Download MULI on the App Store
FAQ
Can I edit a Live Photo in MULI?
MULI works with standard photos. If you upload a Live Photo, the app will automatically select the main frame. This may reduce quality.
Should I shoot Instagram content in Live?
No. It's better to shoot in JPEG or HEIF format – the quality will be higher and the file easier to edit and export.
Why does my photo look blurry after shooting?
Live Photo may be enabled. Turn off this mode, focus on your subject, and try again.
Tip from MULI
Your photos deserve the best. Shoot in sharp formats, edit in MULI – and your content will look professional even without a studio ✨